Configure the Script
When you open the script in your text editor, you’ll be confronted with a page full of PHP code - don’t be put off by this. The edits you’re going to make are very simple - just take your time and follow the syntax exactly. First you need to scroll down the page quite a bit to a section that says Configuration - it looks like this:
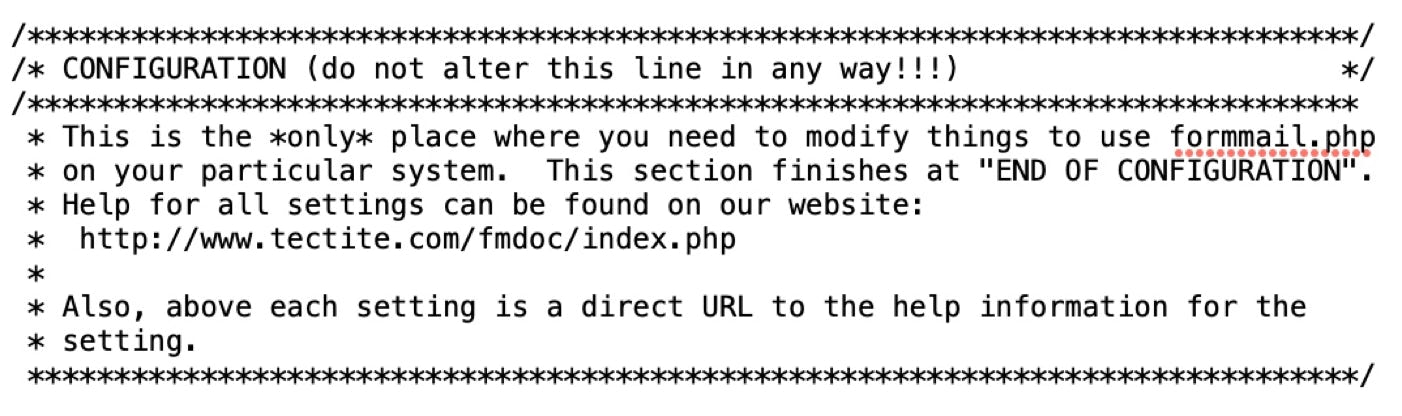
Don’t worry - it isn’t half as scary as it looks!
The first edit you are going to make is the line that begins with $TARGET_EMAIL. This setting restricts the domains that the script can send messages to. So, typically, you will add to this line your domain name to ensure that the the script can only send information to email addresses ending with your domain name. This is what the default setting looks like:
$TARGET_EMAIL = array($EMAIL_NAME . "@yourhost\.com$");
All you have to do is change the bit in Red to match your email domain name. If you don’t have a .com domain, you will also have to change the bit in Green to the domain extension you have (.org, .net etc). If you have a double domain extension, such as .co.uk, you will have to add it in the format .com\.uk. Leave all other characters as they are - only change the bits highlighted above in Red or Green
Cautionary Note: Try to avoid using public email domains such as gmail or yahoo - doing so may compromise this important security feature of the script. If you have a half-decent hosting account, you will be able to set up domain specific emails.
The next line you will edit is the one that begins with $EMAIL_ADDRS. This setting is used to create aliases for your real email addresses which means you never have to disclose recipient email address in your HTML pages. This will be explained later when we take a look at creating forms in Sparkle. The default line looks like this:
$EMAIL_ADDRS = array();
All you have to do here is add some lines BETWEEN the brackets. The information you add will comprise of an alias name, followed by a full email address. These two pieces of information will be separated by the symbols => and enclosed in single quotes. Here’s an example:
$EMAIL_ADDRS = array(‘moreinfo => info@yourdomain.com’);
What this line does is tell the script that when it receives a form that is destined for a recipient named moreinfo, it should send the details to a real email address of info@yourdomain.com. You will see the significance of this a little later.
You can add multiple aliases to this line. For example, you may wish to set up aliases for a sales department, and one for a support department you may just want to add multiple people, such as John or Mary. You add these Aliases in exactly the same way - just make sure they are all contained within the brackets. Here is an example:
$EMAIL_ADDRS = array(‘moreinfo => info@yourdomain.com’,
‘sales => sales@yourdomain.com’,
’support => support @yourdomain.com’,
‘john => john @yourdomain.com’,
‘mary => mary@yourdomain.com’
);
Just remember, that each alias must be enclosed in single quotes and separated by a comma. In the example above, each alias is created on a separate line for clarity, but you can simply add them as one long string if you prefer.
By setting up this option in the script, all possible email addresses where your form results can be sent will remain safely hidden from spam bots and others who may want to harvest your email addresses.
The final edit you have to make is the the line that begins DEF_ALERT. This will typically be the email address of your site administrator. Essentially, if there is an error in sending a form, or if someone attempts to compromise your script, the system will send an alert message to your site administrator with a description of the issue. This is what the default line looks like:
$DEF_ALERT = "";
All you have to do here is add your administrator email address between the quotes. Something like this:
$DEF_ALERT = "webmaster@yourhost.com";
You’re now all set to go. Save your edits and get ready to upload to your server.